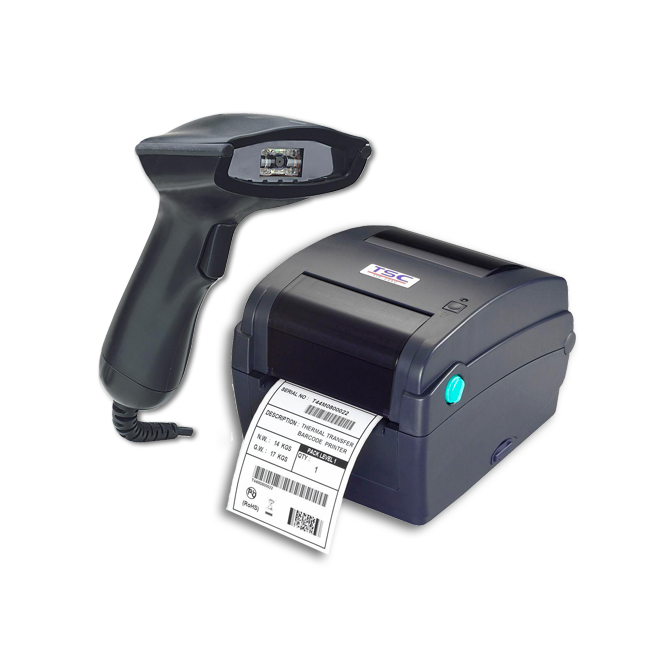
Fortex Program: Printing Barcodes for Items
Barcodes are a sequence of symbols consisting of longitudinal lines and numbers. Their primary use is for product identification during purchase. When scanned, the computer recognizes the product, price, name, and other details.
The Vortex program is highly flexible, allowing users to customize barcode sizes, display options, and pricing easily. It supports various unit types, such as pieces, bundles, and cartons, with the ability to create custom barcodes for each.
Methods to Print Barcodes in Vortex
1. Item Card Method:
- Accessing the Item Card:
Go to the main menu, select Items, then choose Item Card to display the item card interface. - Printing the Barcode:
- Click the Print button to open the printing window.
- Choose the type of barcode label:
- Custom Label: Placed directly on the product or item.
- Shelf Label: Used on shelves to display product prices or promotional offers.
2. Searching for an Item:
- Finding the Item:
Search for the desired item using its barcode number or description. - Printing the Barcode:
- Select the item to be printed.
- Click the Print button to open the printing window, where you can configure the barcode settings.
3. From Purchase Invoices:
- Accessing the Tools Menu:
Open a purchase invoice and click on the Tools button at the bottom of the invoice to display the tools menu. - Selecting Items for Barcode Printing:
- Choose specific products for which barcodes need to be printed.
- Alternatively, select All to print barcodes for every item on the invoice.
Using these methods, the Vortex program simplifies barcode printing, ensuring accurate labeling and streamlined inventory management.

